CSS Tricks
Quick, clever tips & tricks to make web development easier.
Quick, clever tips & tricks to make web development easier.
Want to create a circular image for your About Me page or sidbar? It’s EASY!!
A Circular “About Me” Image
First, go to the “Posts” link on the left of your WordPress Admin area, and click on “Add New” to create a new post. If you are not comfortable looking at HTML, be sure that you have pressed the “Visual” tab above the post window.
You can write some text if you like, but then click the “Add Media” button and upload a picture of yourself and add it to your new post — like the one below:
Boring Rectangular Image
Then, click on the “Text” tab above the post window and look at the code.
You’ll see that WordPress added a paragraph’s worth of code that starts with the word “caption” enclosed in square brackets. The paragraph ends with the phrase “/caption” enclosed in square brackets.
Inside this paragraph, look for the image tag, which starts with
img class=”something” [Note: “something” could be anything]
You are going to COPY the line below EXACTLY as written, including the quotation marks and the semi-colons:
style=”-moz-border-radius: 50%; border-radius: 50%;”
You are going to PASTE the line you just copied IN BETWEEN the word “img” and the word “class” MAKING SURE that you have a space AFTER “img” and BEFORE “class”. You should get something like this:
img style=”-moz-border-radius: 50%; border-radius: 50%;” class=”something”
THAT’S IT! Your image should now look like this:
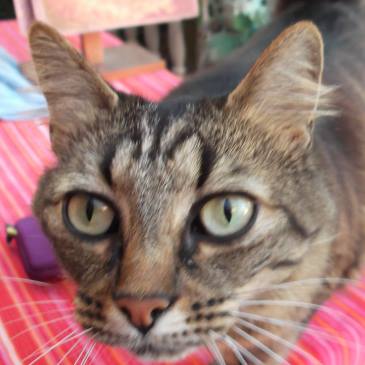
Happy Kitty Blogger
It’s THAT EASY!!!
Now you can COPY the entire paragraph that starts with “caption” (including the enclosing brackets), and PASTE it into a block widget, which you can add to your side bar. Include a link to your actual About Me page and you’re DONE!